If your roof could cut your power bill in half next year, what’s stopping you? Many homeowners hesitate to install solar because they are unsure about roof fit, shading, costs, or permits. This guide removes the guesswork. Start with a quick quiz to score your solar-readiness, then use the checklist to confirm what’s set and what to fix before you request quotes
What Does “Solar‑Ready” Mean?
A solar‑ready home has a sound roof with adequate sun and space, a suitable electrical panel, clear utility and permit pathways, a right‑sized system, and a financial case that fits your goals. In short, you’re set up for a safe, code‑compliant installation that actually saves money.
Step 1 — Understand Your Energy Use and Goals
• Define your goals: maximize bill savings, add backup power, prepare for EV charging, or reduce your carbon footprint. Your priorities drive system design.
• Audit your bill: note your average monthly kWh and seasonal spikes. Annual kWh guides system size.
• Reality check: in many locations, 1 kW of rooftop solar produces roughly 1,200–1,600 kWh per year depending on sun and shade. Use this to translate your annual use into a size range.
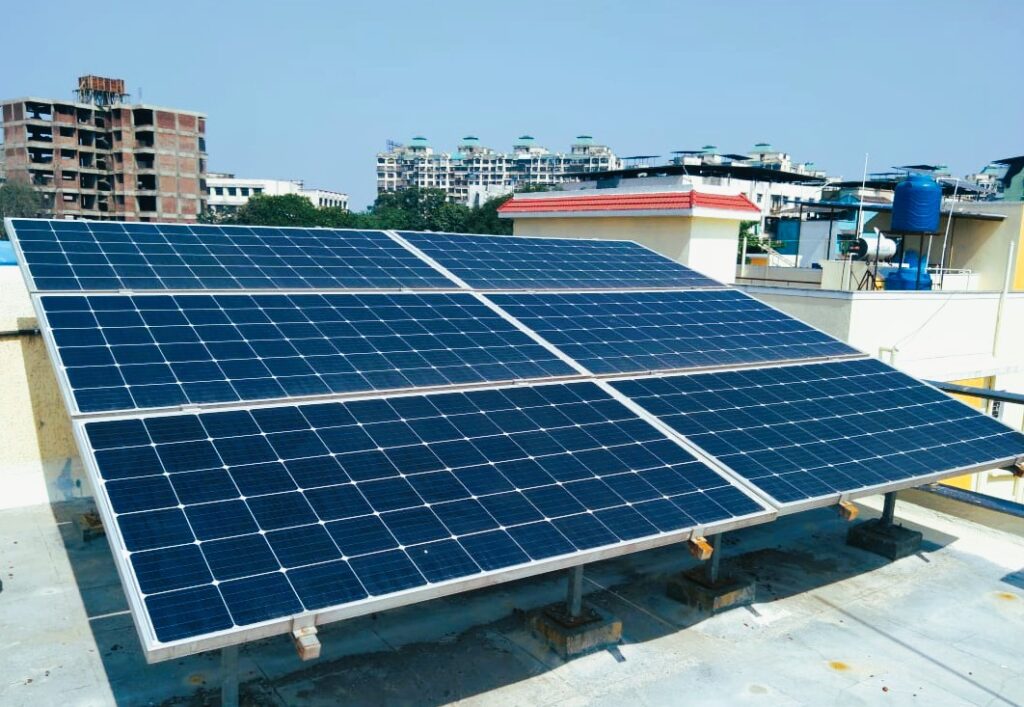
Step 2 — Roof Health and Space: Will It Fit?
• Roof condition: fix leaks or aging waterproofing before installing. Removing and re‑installing panels later adds cost.
• Space rule of thumb: plan about 10 square meters (100–110 sq ft) of shade‑free roof per kW, with room for walkways and obstructions.
• Orientation and tilt: south‑facing is ideal in most of the northern hemisphere; east/west works with modest yield loss. Flat roofs can use tilt racks set near local latitude.
• Quick layout: sketch your roof, mark obstructions, outline a shade‑free area, and compare it to your target capacity using the space rule. Many homeowners who re‑do waterproofing first avoid costly rework later.
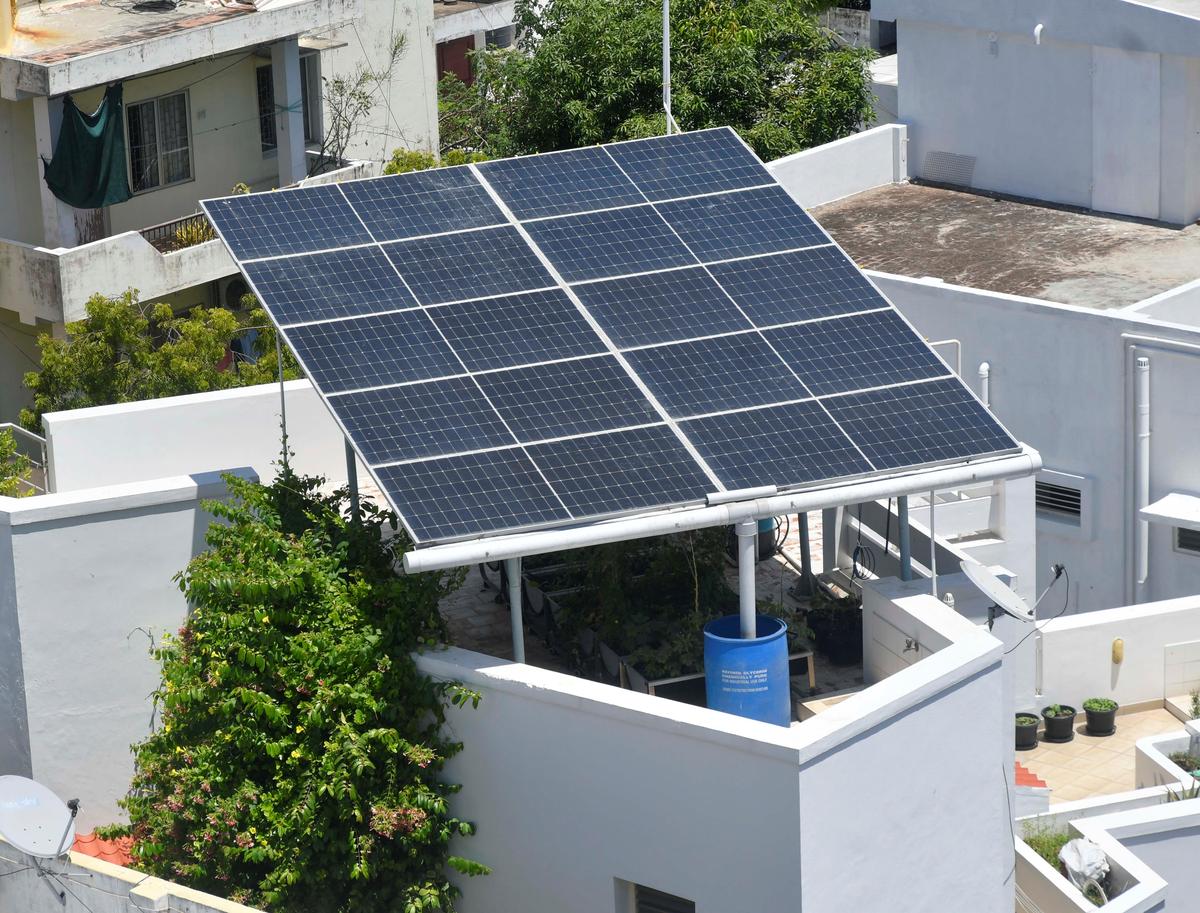
Step 3 — Shading and Sun Hours: The Silent Output Killer
• Aim for clear sun between 9 am and 3 pm. Shade during these hours cuts production disproportionately.
• Common culprits: parapet walls, water tanks, neighboring buildings, chimneys, trees, and satellite dishes.
• DIY pre‑check: use a phone compass and sun‑path app; take photos at 9 am, noon, and 3 pm.
• Professional study: ask for a formal shade analysis to guide stringing, inverter choice, and yield expectations.
• Mitigation: optimizers or microinverters can reduce partial‑shade losses; pruning or strategic array placement can boost output. Keep expectations realistic if shade remains.
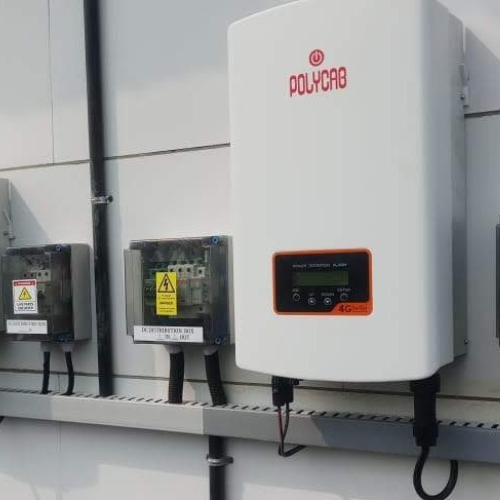
Step 4 — Electrical Readiness and Safety
• Main panel: confirm spare breaker space and adequate service rating. Plan for required AC/DC protections.
• Inverter location: keep it cool, dry, ventilated, and easy to access. Avoid direct sun and cramped enclosures.
• Protection and grounding: ensure proper earthing/grounding and bonding, surge protection on AC and DC sides, and clearly labeled disconnects for emergencies.
• Service type: larger systems and high‑load homes may need three‑phase service. Your utility may tie allowable system size to service type.
Step 5 — Policy, Permits, and Metering
• Net metering or export credits: check availability, size caps, and how credits are valued. These rules drive savings and payback.
• Approvals: expect interconnection applications, structural/electrical documents, and inspections. Confirm whether your installer manages the paperwork.
• Incentives: verify eligibility, approved equipment lists, and timelines. Incentives can influence component selection and vendor choice. Start utility paperwork early; approvals often take longer than installation.
Step 6 — Right‑Sizing Your System (Without Overpaying)
• Quick sizing: system size (kW) ≈ annual kWh ÷ local yield factor (1,200–1,600 kWh per kW per year). Cross‑check against roof area and budget.
• Self‑consumption versus export: a slightly smaller system that boosts on‑site use can beat oversizing and exporting at lower credits.
Example:
- Home A: 6,000 kWh/year, good sun. 6,000 ÷ 1,400 ≈ 4.3 kW. With 45–50 m² of roof, a 4–4.5 kW system fits well.
- Home B: same use but morning shade. De‑rate by 10–15% or add optimizers, balancing cost and benefit.
Step 7 — The Money Talk: Costs, Payback, and Financing
• What drives cost: size, module and inverter brand, mounting complexity, wiring runs, warranties, and installer expertise.
• Savings math: depends on your tariff, net metering rules, and self‑consumption. Use conservative yield assumptions.
• Incentives and loans: explore green loans and local programs; confirm requirements before signing a contract.
• Simple payback: divide net upfront cost by first‑year savings. In favorable markets, 4–8 years is common; actual results vary with tariffs and shade. Use our payback calculator to compare scenarios, and share your numbers in the comments for feedback.
Step 8 — Tech Choices That Matter (Modules, Inverters, Batteries)

• Modules: mono PERC and TOPCon are common. Compare efficiency, temperature coefficient, warranties, and brand reliability.
• Inverters:
- String inverters: cost‑effective and proven; add optimizers for partial shade.
- Microinverters: better for complex or shaded roofs; higher upfront cost; module‑level monitoring.
- Check warranty (5–10+ years) and local service support.
• Batteries: helpful for backup and some time‑of‑use tariffs. Consider safety, ventilation, usable capacity, and warranty.
Good–better–best:
• Good: quality string inverter + reputable high‑efficiency modules.
• Better: string inverter + optimizers for partial shade.
• Best: microinverters for complex shading and module‑level monitoring.
Step 9 — Choosing the Right Installer and Paper Trail
• How to shortlist: verify credentials, years in business, references, and site‑audit quality (measured shade and structure beats a glance).
• A professional proposal includes: expected annual generation (with method), bill of materials with makes/models and warranties, layout and single‑line diagram, mounting/wiring details, and an interconnection/inspection plan.
• Contract essentials: clear performance assumptions, workmanship warranty, delivery timeline, payment milestones, and insurance coverage. Download our vendor scorecard to compare quotes side by side.
Step 10 — Safety, Access, and Maintenance
• Design for safety: maintain walkways and clearances; route cables in UV‑resistant conduits; prevent trip hazards and water ingress.
• Cleaning: dust and pollen reduce output. Set a schedule based on local conditions; use soft water to avoid mineral spots.
• Monitoring: check monthly generation against expectations. A sudden drop may indicate a tripped breaker, new shade, or an inverter issue.
• Annual checkup: ask about preventive inspections and thermal imaging to spot hotspots early.
Special Cases — Apartment Societies and Shared Roofs
• What works: offset common‑area loads with a shared system; choose CAPEX (society‑owned) or RESCO/PPA (third‑party owned); explore virtual or group net metering where available.
• Governance: update by‑laws for roof access and maintenance; appoint an energy committee for vendor selection and ongoing O&M. Mini case: a mid‑rise society funded a rooftop system by first cutting common‑area loads with LED upgrades, then using combined savings to repay the solar investment within a few years.
Red Flags and Common Myths
• Red flags: unusually high generation claims without a shade study; missing protections (surge arrestors, proper earthing, labeled disconnects); no structural method statement for older or high‑wind roofs.
• Myths:
- “Any sun is fine.” Even two hours of midday shade can slash output.
- “Solar will leak my roof.” Quality mounting with proper flashing or sealing prevents leaks.
- “Solar works during power cuts.” Grid‑tied systems shut down for safety unless paired with batteries or a hybrid inverter.
FAQs
- How much roof area do I need per kW of solar?
About 10 square meters (100–110 sq ft) of shade‑free space per kW, depending on module wattage and layout. - What’s the best roof orientation and tilt for solar?
South‑facing with tilt near your latitude usually maximizes annual energy in the northern hemisphere. East/west is acceptable with modest yield loss; flat roofs can use tilt racks. - Can I install solar if my roof has partial shade?
Yes, but expect lower output. Optimizers or microinverters help. Always get a professional shade study. - Do I need to upgrade my electrical panel for solar?
You need sufficient breaker space and appropriate service capacity. Installers can confirm; upgrades are sometimes required for larger systems. - How long do permits and net‑metering approvals take?
From a couple of weeks to a few months, depending on your utility and jurisdiction. Start paperwork early. - What maintenance do rooftop solar panels require?
Light periodic cleaning and an annual inspection. Monitor monthly output to catch issues early.
Very Informative!